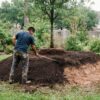
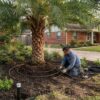
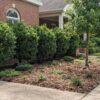
An impressive berm peak isn’t automatically a good place for a tree. If the ridge is too narrow, roots may lack room to spread and reach moisture. Understanding how to build a berm for planting trees starts with choosing a suitable location and shaping a broad, gradual profile. A berm should have five feet of base for every one foot of height, with a top layer of 6 inches to a foot of soil for plants to grow.
A berm’s shape and soil layers affect how well trees establish on its peak, not just how it looks. This guide explains how to build a berm for planting trees by assessing placement and drainage, choosing fill and planting soil, and positioning trees where roots have room to grow. It also covers common problems, including erosion and a peak that dries out too quickly.
Key Takeaways
- Choose a berm location and shape that fit the landscape while avoiding unwanted changes to yard drainage.
- Plan a gradual profile with about five feet of base for every foot of height to support a natural-looking slope.
- Use suitable fill beneath a nutrient-rich top layer, leaving enough soil depth for plants to establish.
- Give trees and larger plants room on a broad peak, and account for the ridge drying out sooner than lower slopes.
How professionals apply clay soil and topsoil
The cost of building a berm professionally depends on its size, soil volume, materials, site access, and planting scope. An estimate accounts for the fill and topsoil required, along with the work needed to shape and finish the site.
- Assess the existing ground. First evaluate the site’s clay, slope, and drainage to determine the soil layers. Clay can compact, making it more suitable as structural fill than as the planting surface. Keep soil from piling over the tree’s root ball when planning its position.
- Estimate the berm’s volume. The crew bases the soil order on the planned footprint, height, and profile, then accounts for the material needed to shape the finished mound. One documented landscape berm project used 7.5 cubic yards of soil, but that amount belongs to that project, not every berm.
- Build the lower shape with suitable material. Use suitable clay soil or fill to create the berm’s base and overall landform. Shape and compact the material as needed for a stable mound, rather than using nutrient-rich topsoil for the entire volume.
- Reserve planting soil for the surface. Apply nutrient-rich soil over the clay or fill so roots encounter a suitable growing layer. Plants on a berm need at least 6 inches to a foot of soil to grow properly. The required depth depends on the planting area and the plants selected.
- Keep the tree’s root zone clear. Soil over a root ball can make it harder for water and nutrients to reach the roots. Shape the berm around the root ball without burying it, then blend topsoil into the planting surface.
- Check the finished soil profile. Before planting, confirm that topsoil covers the intended growing area and the berm’s contours are intact. Look for thin spots, abrupt transitions, and areas where clay has mixed into the planting layer.
The cost depends on the berm’s size, soil volume, materials, site access, and planting scope.
How professionals choose a berm location and shape
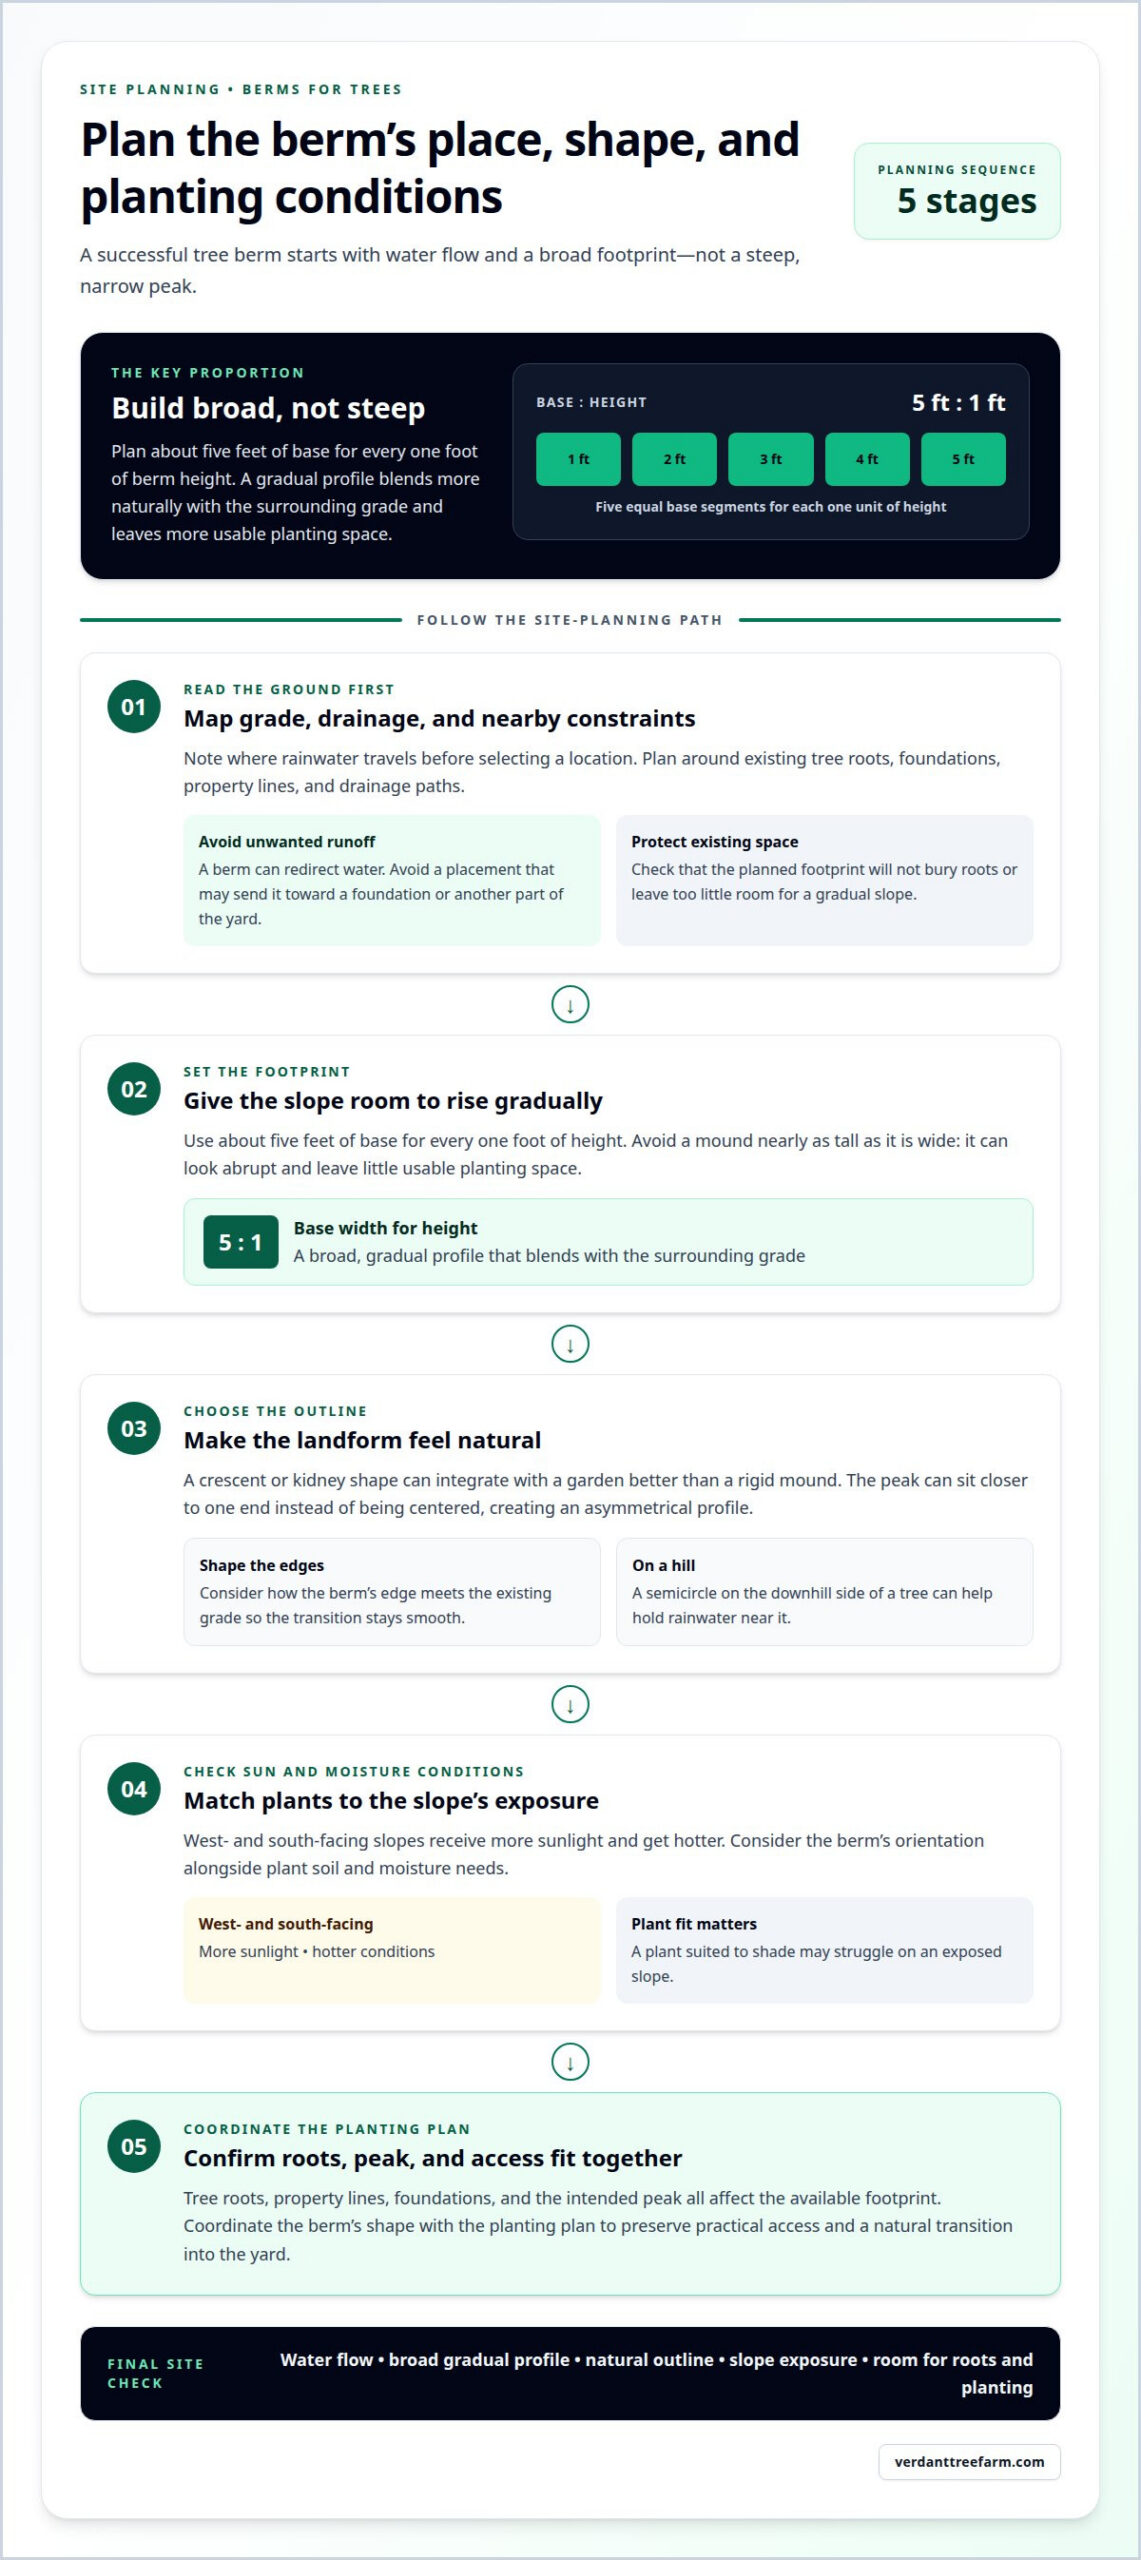
Near tree roots, foundations, or property lines, a berm can bury roots or redirect water where it is not wanted. A poorly placed mound may also leave too little room for a gradual slope. Plan its footprint around existing trees, structures, boundaries, and drainage paths.
- Assess the site’s grade and water flow. Note where rainwater travels before choosing a location. A berm can redirect runoff, so avoid placing it where water may be sent toward a foundation or another part of the yard. On a hill, a semicircle on the downhill side of a tree can help hold rainwater near it.
- Set a broad, gradual profile. Plan about five feet of base for every one foot of berm height. This broad footprint creates a gentler slope that blends more naturally with the surrounding grade. Avoid a mound nearly as tall as it is wide, which can look abrupt and leave little usable planting space.
- Choose a natural outline. A crescent or kidney shape can integrate with a garden better than a rigid mound. Professionals may place the peak closer to one end, rather than centering it, to create an asymmetrical landform. They also consider how the berm’s edge meets the existing grade.
- Match plants to slope exposure. West- and south-facing slopes receive more sunlight and get hotter. Account for those conditions, along with soil and moisture needs, when choosing plants. A plant suited to shade may struggle on an exposed slope, so base the planting plan on the berm’s orientation.
- Plan planting and installation together. Tree roots, property lines, foundations, and the intended peak all affect the available footprint. A professional installation can coordinate the berm’s shape with the larger planting plan, helping preserve practical access and a natural transition into the yard.
How professionals use fill dirt, bricks, rocks, and sod as berm filler
Choose fill for the berm’s shape, available materials, and the space needed for planting soil. Fill dirt, bricks, rocks, or sod can contribute to the build, but the finished berm still needs a suitable surface layer for planting.
Local code or permit requirements depend on the project and its location. Professionals account for grading, drainage changes, and retaining features during planning, since berm placement can redirect water.
-
How professionals choose berm filler materials
Choose filler based on the berm’s planned shape and the material’s role. Fill dirt can form the main body, while bricks and rocks can add bulk in selected areas. One documented berm contained more than 850 pounds of gray basalt rock, an example rather than a standard quantity. Use sod only where it fits the planned profile, and keep bulky fill away from the planting surface.
-
How professionals build the fill layers
Build the mound from the core outward, reserving the surface for planting soil. Place fill within the berm’s outline and shape the outer slopes before adding the top layer. Keep fill about a foot from the berm’s border to leave room for topsoil. This helps create a distinct planting layer instead of mixing topsoil throughout the berm.
- Finish the profile before planting. Shape the exposed fill so the berm connects smoothly with the surrounding grade. Add topsoil across the planting area, keeping rocks or bricks out of the intended root zone. Review the crest, slopes, and border for gaps or uneven edges. The fill should support the landform without replacing the soil layer needed for planting.
How professionals plant trees and larger plants on berm peaks
Water trees according to soil moisture and site conditions, since berm peaks dry out first. Add mulch as needed, and rebuild or repair tree berms at least once a year.
- Choose a broad, stable planting area. Professionals assess whether the ridge gives roots room to spread and absorb moisture. A narrow peak can dry quickly and restrict root growth. A broad berm provides more room for an ornamental tree’s roots and gives the planting area a more dependable shape.
- Set the tree at the peak without burying its root ball. Keep added soil off the root ball so water and nutrients can reach the roots. Shape surrounding soil to support the tree without covering its root zone. Place larger plants where they will fit the berm’s available space as they mature.
- Account for faster drying on the ridge. Berm peaks tend to dry out before lower slopes, so consider soil moisture when planning watering. For a tree on flat ground, filling its berm basin lets water drip slowly toward the roots. On a peak, pay close attention to the planting area because water can drain from elevated soil sooner.
- Protect the surface from erosion. Rain can wash soil off a berm and expose roots along the ridge. A thick mulch layer helps limit erosion after heavy rain. Jute netting can hold soil in place while plants fill in, then decompose over time. Keep the root flare uncovered while protecting the surrounding soil.
- Maintain the berm as plants establish. Rebuild or repair tree berms at least once a year, and add mulch as needed. Check for channels cut by runoff or soil shifted away from the tree. Restore the basin and surrounding surface so water reaches the root area without collecting against the trunk.
For a coordinated tree and berm planting plan, explore professional installation.
Verdant Tree Farm
Verdant Tree Farm can help you select a tree for your berm planting plan. Consider the site’s sun exposure, soil conditions, available root space, and the tree’s mature size. A broad peak gives roots more room to spread, while an exposed ridge may dry faster than the surrounding yard.
Tree options include Shumard Oak, Mexican White Oak, and Drummond Red Maple. When discussing your plans, describe the berm’s location, shape, and planting conditions so the selection suits both the site and your landscape goals.
Contact Verdant Tree Farm to discuss trees for your berm.
Plan the next stage of your landscape
Planning how to build a berm for planting trees is also a chance to consider how the planting will fit your yard over time. Think about whether you want shade, screening, or a visual focal point, then choose trees suited to the site and that goal. A thoughtful choice can help the berm feel like part of the landscape rather than an isolated mound.
Verdant Tree Farm offers Live Oak, Shumard Oak, and Mexican White Oak among its tree selections. Professional installation can bring tree selection and the wider planting plan together. Share your goals and site conditions to start a focused conversation about what suits your landscape.
Explore planting options with Verdant Tree Farm, and take the next step toward a landscape that feels considered and welcoming.
Frequently Asked Questions
What is a planting berm and when should you use one for trees?
A planting berm is a raised mound shaped to support landscaping or help manage water around a tree. On a flat Houston yard, a low basin around a tree can hold water so it reaches the roots gradually. A larger landscape berm can add elevation or screening. The right form depends on the goal, available space, drainage, and the tree’s planting needs.
How tall and wide should a berm be for planting trees?
For a landscape berm, plan a broad base in proportion to its height: the guidance here is five feet of base for each foot of height. This creates a gentler profile than a steep mound. A small watering basin around an existing tree is a different feature, not the same design as a raised planting berm.
How do professionals build a berm for trees step by step?
A professional plan for how to build a berm for planting trees starts by assessing the site’s grade, drainage, nearby structures, and planting plan. The crew marks the outline, places suitable fill, shapes the landform, and adds planting soil where trees will grow. Before planting, review the surface for uneven areas and keep added soil off the tree’s root ball.
What soil mix and materials do professionals use to build a tree berm?
Clay soil or fill dirt can form the berm’s body, with nutrient-rich topsoil added over planting areas. Bricks and rocks can add bulk in selected parts of the mound, while sod may suit sections of planned fill. The key to how to build a berm for planting trees is choosing materials that suit the design while keeping a distinct layer of suitable growing soil.
How do professionals shape a berm for drainage and prevent erosion?
Shape the berm to follow the yard’s existing grade, rather than directing runoff toward a foundation or another unwanted area. A gradual slope helps the mound blend into its surroundings. Consider how water moves across the planting surface, and use mulch or jute netting to protect exposed soil while plants establish and help limit erosion.
How do professionals plant trees on a berm without burying the root flare?
Keep added soil from covering the root ball or root flare. Position the tree in the prepared planting area, then shape the surrounding soil without mounding it over the trunk base. Soil over the root ball can make it harder for water and nutrients to reach roots. Leave the tree’s base visible at the finished grade.